Learn how to sew a simple drawstring bag with our easy step-by-step tutorial. Perfect for beginners, this project requires minimal fabric and basic skills.
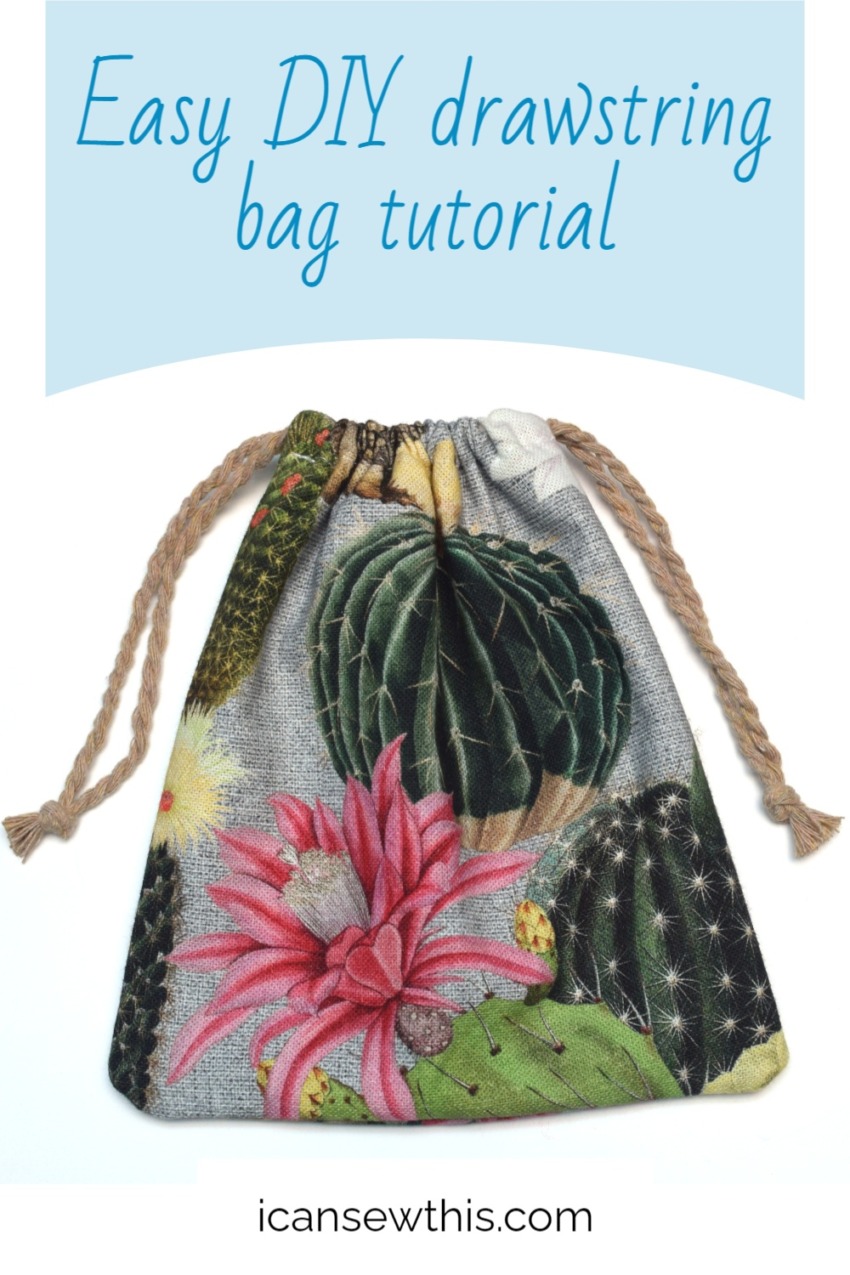
Table of Contents
- What Do You Need to Make a Drawstring Bag?
- Step-by-Step Instructions for Your DIY Drawstring Bag
- How Can You Customize Your Handmade Bag?
- Frequently Asked Questions About Sewing Drawstring Bags
What Do You Need to Make a Drawstring Bag?
Before you begin your sewing project, gathering the right materials is the first step toward success. A well-prepared workspace makes the entire process smoother and more enjoyable. For a basic drawstring pouch, you don’t need much, which is why it’s a fantastic project for anyone new to sewing or looking for a quick, satisfying creation.
Essential Fabric and Notions
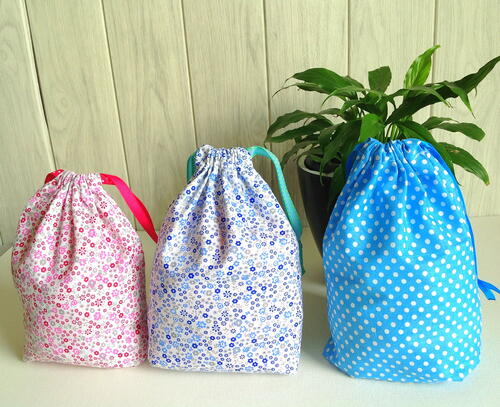
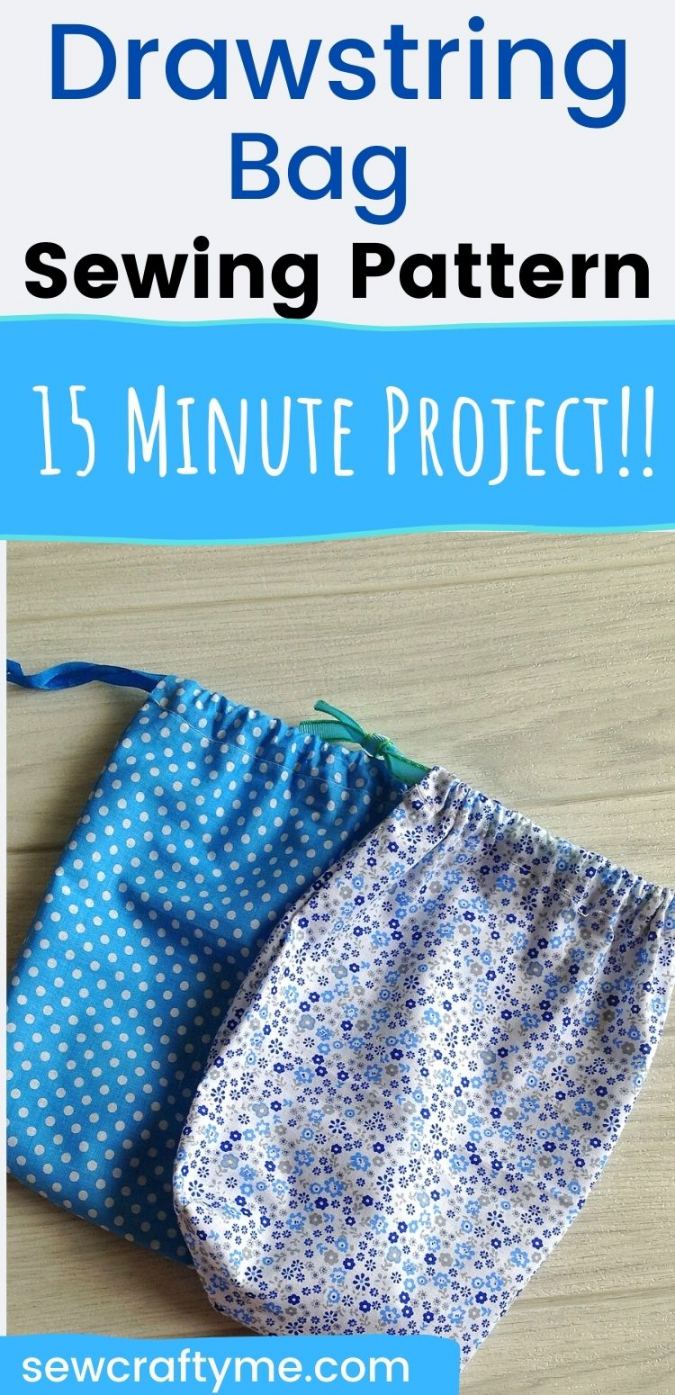
The core components of your bag are the fabric and the cord for the drawstring. The type of fabric you choose will determine the look, feel, and durability of your finished pouch. Consider the bag’s intended purpose when making your selection. A lightweight cotton is perfect for a gift bag, while a sturdy canvas or denim is better for a shoe bag or small backpack.
| Item | Description | Recommended Amount |
|---|---|---|
| Fabric | Cotton, canvas, linen, flannel, or other woven fabrics work best. | Two rectangular pieces (e.g., 10×12 inches each) or one long piece (e.g., 10×24 inches). |
| Drawstring Cord | Ribbon, twill tape, paracord, or a leather cord. | About 4 times the width of your finished bag. |
| All-Purpose Thread | Choose a color that matches or complements your fabric. | One spool is sufficient. |
Recommended Sewing Tools
Having the right tools on hand will ensure clean cuts, straight stitches, and a professional-looking result. While a sewing machine speeds things up considerably, this project can also be completed by hand with a needle and thread.
Essential tools include:
- Sewing Machine: A basic machine with a straight stitch is all you need.
- Scissors or a Rotary Cutter & Mat: For cutting your fabric accurately.
- Ruler or Measuring Tape: Essential for precise measurements.
- Iron and Ironing Board: Pressing seams is crucial for a crisp, clean finish.
- Straight Pins or Sewing Clips: To hold fabric pieces together while you sew.
- Safety Pin or Bodkin: This makes threading the drawstring through the channel incredibly easy.
Step-by-Step Instructions for Your DIY Drawstring Bag
With your materials gathered, you are ready to start creating. These instructions break down the process into simple, manageable actions. Work slowly, press your seams as you go, and you’ll have a beautiful handmade bag in no time.
Step 1: Measuring and Cutting Your Fabric
The foundation of a good bag is accurately cut fabric. For this project, you will need one long rectangle. The width of the rectangle will be the width of your bag, and the height will be double the desired height plus extra for the drawstring channel.
A good starting size for a small multi-purpose bag is a rectangle measuring 10 inches wide by 24 inches tall. This will create a finished bag that is approximately 9 inches wide and 10.5 inches tall. Adjust these measurements to create any size bag you need, from a tiny jewelry pouch to a large laundry sack.
Step 2: Preparing the Top Edge and Drawstring Channel
Creating a neat channel for the drawstring is the most important part of this project. Start by laying your fabric rectangle flat with the wrong side facing up. Focus on one of the short (10-inch) ends.
First, fold the raw edge down by 1/2 inch and press it flat with a hot iron. This hides the raw edge and prevents fraying. Next, fold that same edge down again, this time by 1 inch, and press it firmly. This creates a 1-inch casing. Pin it in place. Sew a straight stitch along the bottom edge of this folded hem, sewing close to the fold. Backstitch at the beginning and end to secure your stitches. Repeat this entire process on the other short end of your fabric rectangle.
Step 3: Sewing the Main Body of the Bag
Now it’s time to give your bag its shape. Fold the fabric rectangle in half widthwise, with the right sides together. The two channels you just sewed should line up perfectly at the top. Pin the two long, raw sides together.
You will now sew the side seams. It’s crucial to leave an opening for your drawstring to pass through. Start sewing at the bottom corner of one side, using a 1/2 inch seam allowance. Sew all the way up the side, but stop and backstitch just below the stitched line of your drawstring channel. Do not sew the channel closed. Repeat on the other side. You now have a pouch that is open at the top and has small gaps in the side seams just under the top channels.
Step 4: Finishing the Seams and Corners
To ensure your bag is durable and looks professional inside and out, it’s a good practice to finish the raw seam allowances. This prevents the fabric from unraveling with use and washing. You can do this easily by sewing along the raw edge with a zigzag stitch on your sewing machine. Alternatively, you can trim the seam allowance with pinking shears.
For a bag with a flat bottom, you can “box” the corners. To do this, pull the front and back of the bag apart at a bottom corner, creating a triangle point. Flatten the point so the side seam lines up with the bottom fold. Measure about 1-2 inches in from the tip, draw a line across, and sew along it. Trim the excess fabric. Repeat on the other corner for a sturdy, flat-bottomed bag.
Step 5: Threading the Drawstring
The final step is to add the drawstring. Cut your cord into two equal pieces. Attach a large safety pin to the end of one piece. Starting at one side of the bag, thread the cord through the first channel and all the way through the second channel, so it comes back out on the same side it started. Tie the two ends together in a secure knot.
Take the second piece of cord and, starting from the opposite side of the bag, repeat the process. Thread it through both channels so that its ends emerge on the opposite side from the first cord. Knot the ends. You will now have a loop on each side. When you pull both loops simultaneously, your bag will cinch closed beautifully.
How Can You Customize Your Handmade Bag?
Once you’ve mastered the basic construction, the possibilities for personalization are endless. A simple drawstring bag is a blank canvas for your creativity, allowing you to tailor it to your specific needs and aesthetic preferences.
Choosing Different Fabrics
The fabric is the star of the show. Experiment with different materials to achieve different results. A soft flannel is perfect for a pajama bag, while a luxurious velvet or silk can create an elegant evening pouch. Try using waterproof nylon for a swim bag or a classic chambray for a rustic bread bag. Don’t be afraid to mix and match patterns and solids for a unique look.
Adding Personal Touches and Embellishments
Make your bag truly one-of-a-kind with added details. Consider adding an embroidered monogram, appliqué shapes, or decorative patches before you sew the side seams. You can also attach beads or tassels to the ends of the drawstrings for a bit of flair. For a more functional touch, add an exterior pocket for small items.
Elevating with Quality Materials
Even a simple project can be transformed by focusing on high-quality components. Choosing a durable material like waxed canvas for the body and a robust, genuine leather cord for the drawstring elevates the bag from a simple craft to a long-lasting accessory. A full-grain leather cord not only provides superior strength but also develops a rich patina over time, adding character with every use. This commitment to quality materials and enduring craftsmanship is the same philosophy we pour into every handcrafted bag and accessory at Beldtura Leather, ensuring that what you create is not just beautiful, but built to last.
Frequently Asked Questions About Sewing Drawstring Bags
Here are answers to some common queries that arise when making a DIY drawstring bag. Understanding these points can help you troubleshoot issues and improve your technique.
What is the best fabric for a drawstring bag?
The best fabric depends entirely on the bag’s purpose. For beginners, 100% quilting cotton is ideal because it is stable, easy to sew, and comes in countless colors and patterns. For more durable options, consider canvas, denim, or twill. For a lightweight bag, linen or chambray works well. Avoid very stretchy or slippery fabrics like knits or chiffon until you are more comfortable with sewing.
How do you calculate fabric size for a drawstring bag?
It’s a simple formula. For the width, decide on your desired finished width and add 1 inch for the seam allowances (1/2 inch on each side). For the height, decide on your desired finished height, double it, and then add about 3 inches for the top hem and drawstring channel. So, the formula is:
Fabric Width = (Finished Width + 1″)
Fabric Height = (Finished Height x 2) + 3″
Can I sew a drawstring bag without a sewing machine?
Absolutely. A drawstring bag is an excellent project for hand sewing. You will need a sharp needle and good quality all-purpose thread. The best stitch to use for the main seams is a backstitch, as it is very strong and secure, closely mimicking the look and function of a machine stitch. While it will take longer, the process can be very relaxing and results in a truly handmade item.