Learn how to crochet a bag with our simple step-by-step tutorial. This easy project is perfect for beginners and yields a stylish, durable tote.
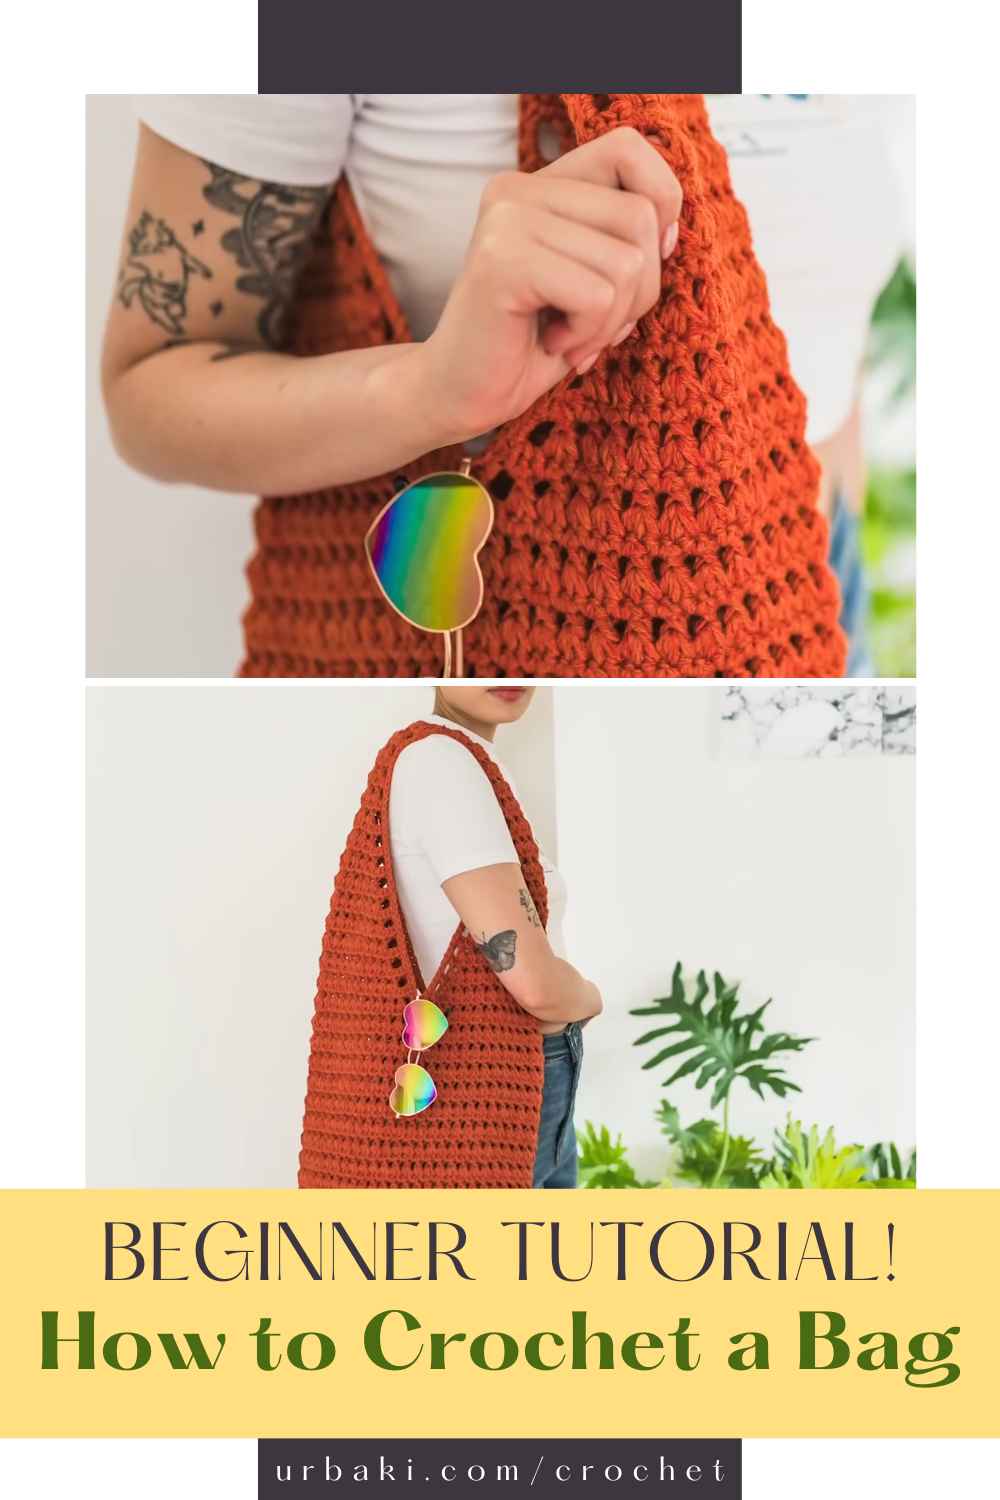
Creating a beautiful, functional bag with your own hands is an incredibly rewarding experience. This process will walk you through everything from selecting the right materials to adding professional finishing touches for a bag you’ll be proud to carry.
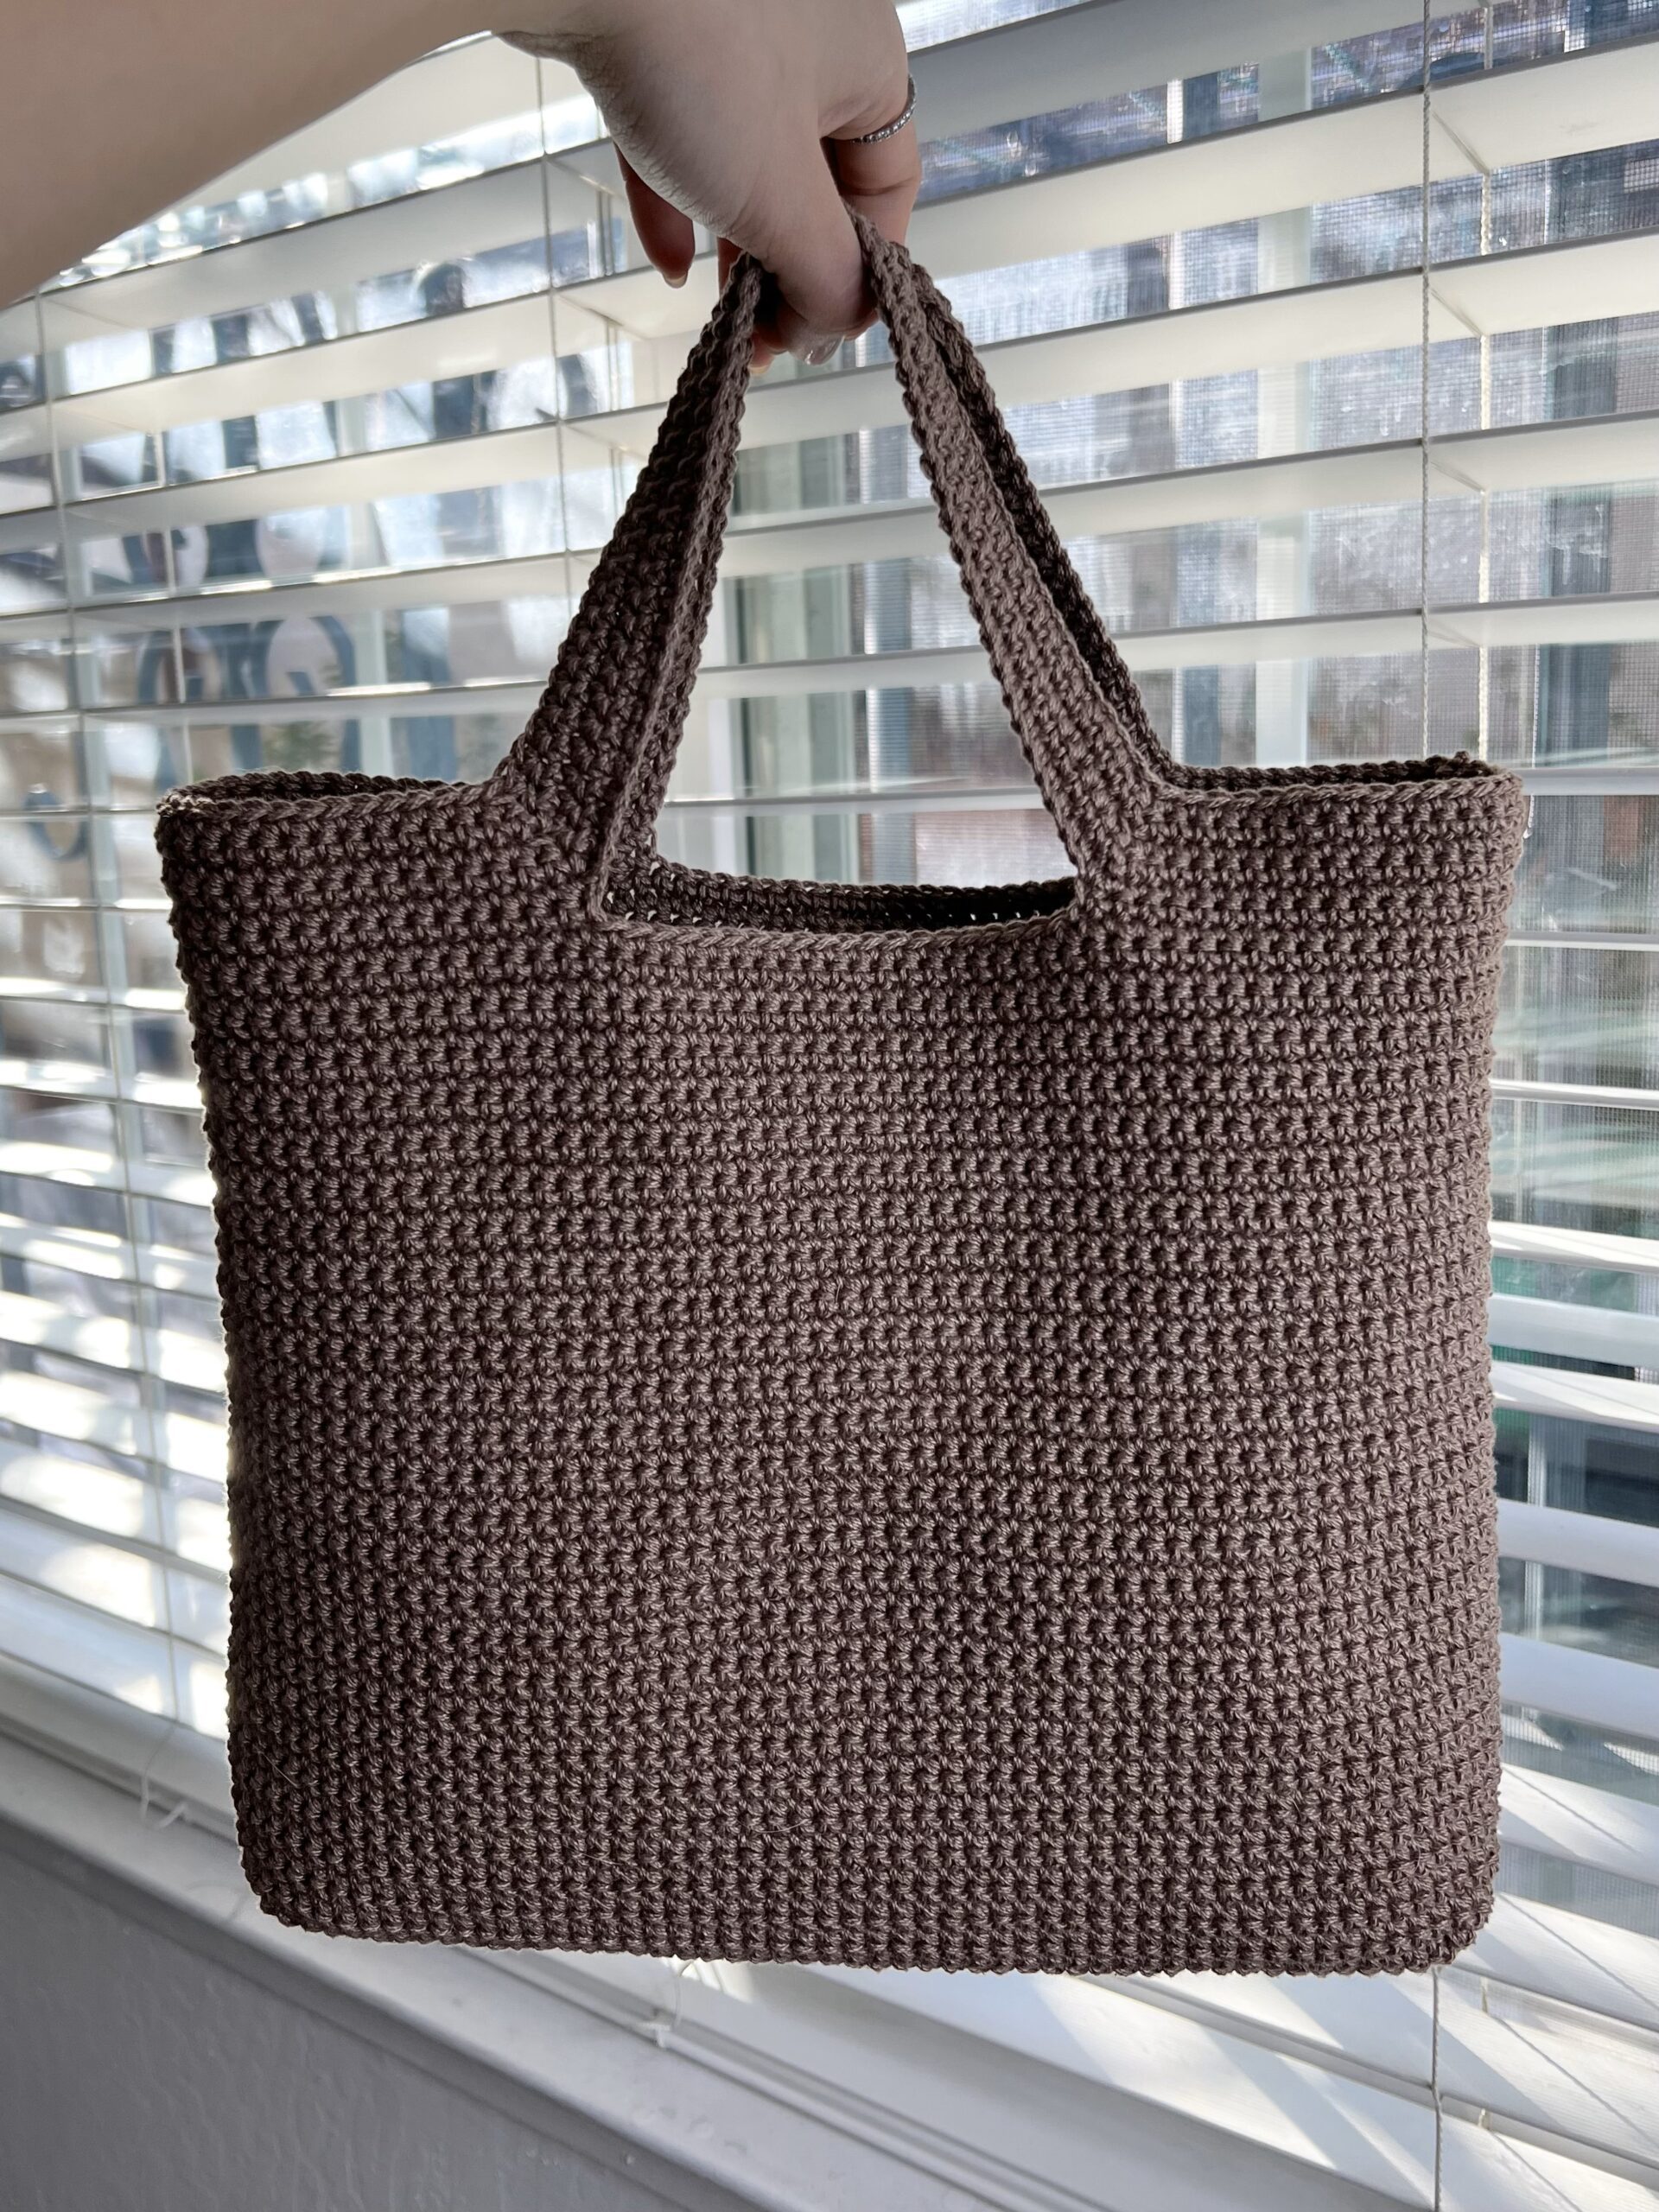
Table of Contents
- Before You Begin: Gathering Your Crochet Supplies
- Mastering the Basic Crochet Stitches
- Step-by-Step: Crocheting Your First Bag
- Professional Finishing Touches for a Polished Look
- Frequently Asked Questions About Crocheting Bags
Before You Begin: Gathering Your Crochet Supplies
Setting yourself up for success starts with having the right materials on hand. A sturdy bag requires more than just any yarn and hook; thoughtful choices at this stage will dramatically impact the look, feel, and longevity of your finished project. Focus on materials that offer strength and structure.

Choosing the Right Yarn for Durability
The yarn you select is the foundation of your bag. Unlike a soft blanket or a delicate shawl, a bag needs to withstand weight, friction, and regular use. The ideal yarn should have minimal stretch to prevent the bag from sagging over time. Look for fibers known for their strength and resilience.
Cotton yarn is the top choice for crochet bags. It is strong, durable, holds its shape well, and is easy to wash. Mercerized cotton has a slight sheen and is even stronger, making it an excellent option. A worsted-weight (category 4) cotton is perfect for a sturdy fabric that isn’t too stiff. A cotton-linen blend is another fantastic choice, offering the strength of linen with the softness of cotton.
Essential Crochet Tools and Accessories
Beyond yarn, you will need a few key tools to complete your project. Using the correct hook size for your yarn is critical for creating a dense, tight fabric suitable for a bag.
| Tool | Recommendation | Purpose |
|---|---|---|
| Crochet Hook | Size H-8 (5.00 mm) | Pairs well with worsted-weight yarn to create tight stitches. |
| Scissors | A sharp pair | For cleanly cutting yarn ends. |
| Tapestry Needle | Large-eye blunt needle | Essential for weaving in ends securely. |
| Stitch Markers | Locking or split-ring type | To mark the beginning of rounds and important stitches. |
Mastering the Basic Crochet Stitches
The beauty of this crochet bag project lies in its simplicity. You only need to know a few fundamental stitches to create a beautiful and robust fabric. Practice these stitches until you can create them with consistent tension, which is the key to a professional-looking result. Consistent tension ensures your stitches are all the same size and your bag’s sides are even.
The Slip Knot and Chain (ch)
Every crochet project begins here. A slip knot creates the first adjustable loop on your hook. The chain stitch (abbreviated as ch) forms the foundation of your project. It’s a series of interconnected loops that you will build your first row of stitches into. For this bag’s base, you will create a starting chain.
The Single Crochet (sc) Stitch
The single crochet (abbreviated as sc) is the most important stitch for a durable bag. It is a short, dense stitch that creates a tight and sturdy fabric with very little stretch. To make a single crochet, you insert your hook into a stitch, yarn over, pull up a loop (two loops on hook), yarn over again, and pull through both loops. Its density helps prevent small items from falling through the fabric and ensures the bag holds its shape.
The Half Double Crochet (hdc) Stitch
While the single crochet is fantastic for sturdiness, the half double crochet (abbreviated as hdc) offers a great balance of height and density. It’s slightly taller than a single crochet, which means your bag will work up a bit faster, but it remains tight enough to be functional. To make a half double crochet, you yarn over, insert your hook into a stitch, yarn over, pull up a loop (three loops on hook), yarn over again, and pull through all three loops.
Step-by-Step: Crocheting Your First Bag
This pattern creates a simple and modern tote bag with a flat, rectangular base. The instructions are written in standard US crochet terms. We will work in continuous rounds to avoid a visible seam up the side of the bag.
Step 1: Creating the Rectangular Base
The base is worked in rounds around a starting foundation chain. This creates a solid and stable bottom for your bag.
To start: Chain 31.
Round 1: Work 2 single crochet (sc) stitches in the 2nd chain from the hook. Place 1 sc in each of the next 28 chains. Work 4 sc stitches in the last chain. Now, working along the opposite side of the foundation chain, place 1 sc in each of the next 28 chains. Work 2 sc in the final chain (which is the same one you started in). Place a stitch marker in the last stitch you made to mark the end of the round. (64 stitches total).
Round 2: Work 2 sc in each of the first 2 stitches. Work 1 sc in each of the next 28 stitches. Work 2 sc in each of the next 4 stitches. Work 1 sc in each of the next 28 stitches. Work 2 sc in each of the last 2 stitches. (72 stitches).
Rounds 3-6: Continue increasing in this manner at the corners, adding stitches to the curved ends of the rectangle to keep it flat. The base is complete when it reaches your desired width.
Step 2: Building the Body of the Bag
Once the base is complete, you will stop increasing and begin working upward to form the sides of the bag. This part is simple and repetitive, making it a relaxing and mindful process.
Round 7: Work 1 single crochet in the back loop only of each stitch around. This creates a defined edge between the base and the body of the bag, helping it stand up straight.
Rounds 8-40 (or until desired height): Work 1 single crochet in every stitch around. Work in a continuous spiral, moving your stitch marker up at the end of each round. Using the half double crochet stitch here is a great alternative if you prefer a slightly different texture and a faster working process.
Step 3: Finishing the Top Edge
A clean top edge gives your bag a finished look. The slip stitch provides a simple, neat border.
Final Round: Slip stitch in each stitch around the top of the bag. This reinforces the edge and prevents it from curling. Once you have worked a slip stitch in every stitch, cut your yarn, leaving a 6-inch tail. Yarn over and pull the tail completely through the loop on your hook to fasten off. Use your tapestry needle to weave the end in securely on the inside of the bag.
Professional Finishing Touches for a Polished Look
The final details are what transform a homemade project into a handmade treasure. Taking the time to add these elements will significantly increase the durability and aesthetic appeal of your bag.
How to Add a Sturdy Lining
Adding a fabric lining is the most effective way to prevent your crochet bag from stretching out of shape. A lining also protects the yarn from sharp objects like keys and adds a beautiful, custom touch. Choose a durable fabric like cotton canvas or duck cloth. Cut two pieces of fabric to match the size of your bag, sew them together, and then stitch the lining securely to the inside of the bag just below the top edge.
Attaching High-Quality Straps and Hardware
While you can crochet your own straps, they often stretch with use. For a truly elevated and long-lasting bag, consider adding straps made from a more durable material. The best way to achieve a professional, high-end look is by attaching quality leather straps.
A beautifully crafted crochet bag deserves handles that match its quality. Full-grain leather straps, like those from Beldtura Leather, offer unmatched durability and timeless style. They instantly elevate the look of your handmade bag, transforming it from a simple craft project into a sophisticated accessory. Attaching them with metal rivets or sturdy waxed thread not only looks professional but ensures your handles will securely support the weight of the bag’s contents for years to come.
Frequently Asked Questions About Crocheting Bags
Here are answers to some common queries that arise when making a crocheted bag.
What is the best stitch for a crochet bag?
The single crochet (sc) is widely considered the best stitch for bags. Its short, dense nature creates a very sturdy and tight fabric that holds its shape well and prevents small items from falling through. The thermal stitch and waistcoat stitch are other excellent options that produce a thick, non-stretchy fabric.
How do I make my crochet bag not stretch?
There are several effective methods to prevent stretching. First, choose a non-stretchy yarn like 100% cotton. Second, use a smaller hook than the yarn label recommends to create a tighter gauge. Third, use a dense stitch like the single crochet. Finally, the most effective method is to sew a fabric lining inside the bag. The lining bears the weight of the contents, protecting the crochet fabric from stress and distortion.
Can I wash a crocheted bag?
Yes, but the method depends on the fiber. If you used 100% cotton yarn, you can typically machine wash it on a gentle cycle with cold water and lay it flat to air dry. If you have attached leather straps or other non-washable elements, you will need to spot-clean the bag carefully by hand.